เริ่มต้นใหม่ด้วย Next.js บทที่ 2 Routing

ใน React นั้นมี react-router ใน Next ก็มีเหมือนนั่นก็คือ
- next/link ใช้สร้าง Link เช่น <Link href=”/about”>About</Link> เมื่อคลิกก็จะไปที่หน้า about นั่นเอง
- next/router ใช้จัดการ Routing ทั้งหมด
- ของแถม !! Auto routing มาอีก
Auto routing
Auto routing คือ Next.js จะสร้าง Route ให้ตามชื่อไฟล์ที่เราสร้างใน Directory /pages เช่น
├── /pages
│ ├── index.js
│ └── about.js
สิ่งที่ Next.js ทำก็คือสร้าง Route ให้ 2 page
- หน้าแรกหรือหน้า Index >> http://localhost:3000/
- หน้า About >> http://localhost:3000/about
เป็นไง สบายไปเลยใช่ไหมหละ ไม่ต้องเขียน Route ให้มากมาย
มาลอง Next.js routing กัน
เริ่มจาก next/link ก่อนละกัน
ผมจะสร้างไฟล์ตามนี้ใน Directory /pages
├── /pages
│ ├── index.js
│ └── about.js
เสร็จมาลอง Run แล้วลองคลิกเปลี่ยนหน้าดูก็จะได้ผลลัพธ์ดังนี้
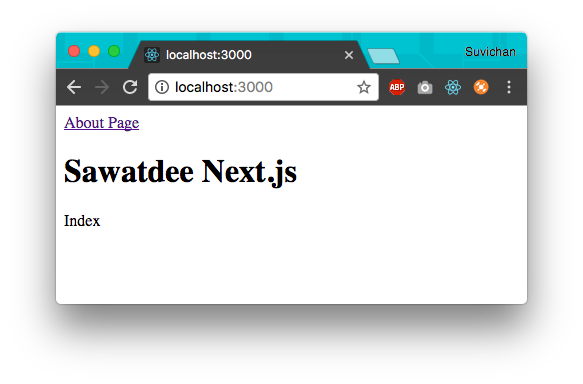
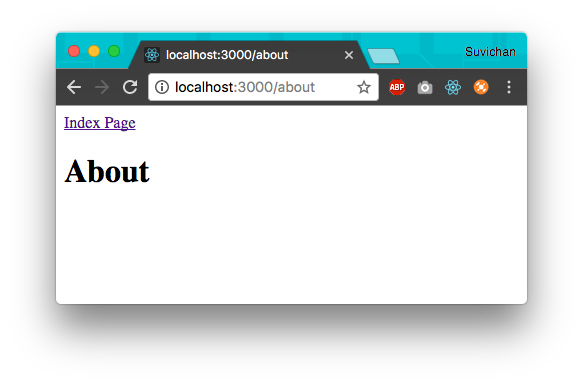
ดีงามโอเค มาต่อกันลองใช้ next/router บ้างผมจะเปลี่ยน Code เดิมจากที่ใช้ <Link /> จาก next/link ไปใช้ next/router แทน และเพิ่ม style ไปอีกนิด
ไฟล์ /pages/index.js
ไฟล์ /pages/about.js
ผลลัพธ์หละ
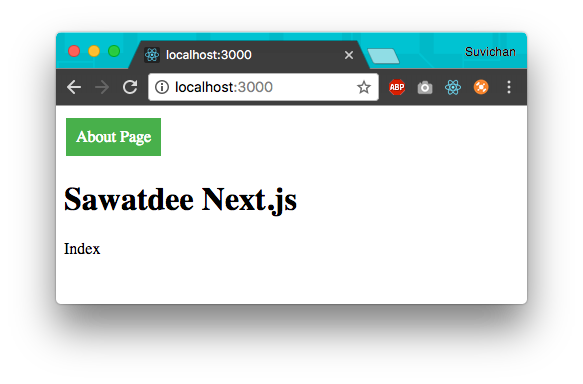
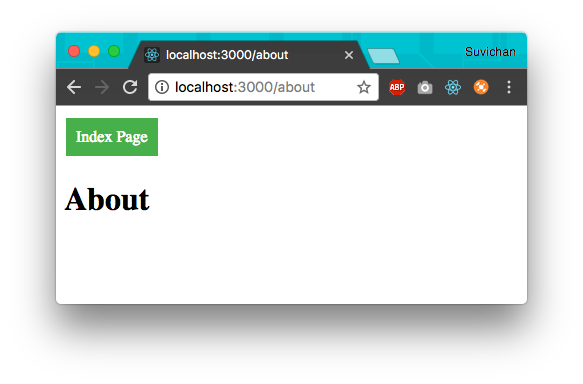
ใช้ได้เหมือนกันนี่นาแล้วต่างกันยังไง??
ผมมองว่า next/link เหมาะสำหรับทำพวก Menu, Side-nav, Navigation นะที่กดแล้วเปลี่ยนหน้าก็หมดหน้าที่
ส่วน next/router ใช้จัดการ Route หลังเกิด Event/Action ต่างๆ เช่น กรอกฟอร์มสมัครสมาชิกเสร็จถ้าผ่านให้ไปที่หน้าแรก เป็นต้น
จบแล้วกับบทที่ 2
อ้างอิง
https://learnnextjs.com
https://github.com/doctoraod/sawatdee-next/tree/lesson2-ex2
สารบัญ
- บทที่ 1 Setup
- บทที่ 2 Routing
- บทที่ 3 Shared Components
- บทที่ 4 Dynamic Pages
- บทที่ 5 Route Masking (Coming soon…)
เริ่มต้นใหม่ด้วย Next.js บทที่ 2 Routing was originally published in True e-Logistics on Medium, where people are continuing the conversation by highlighting and responding to this story.